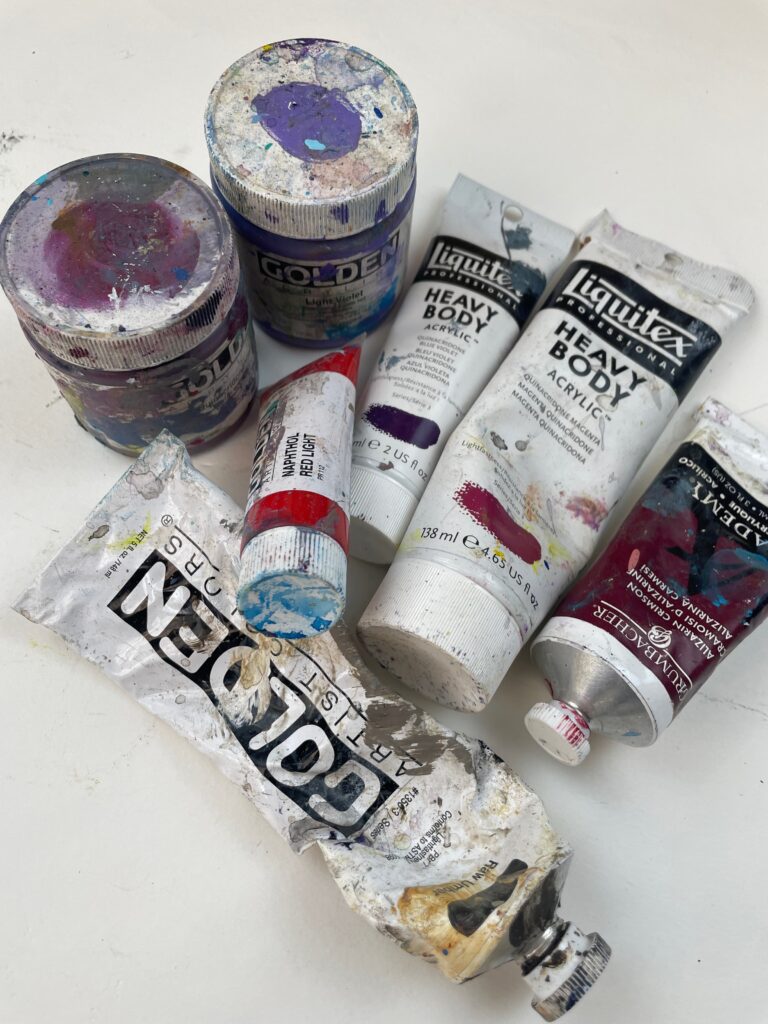
Every artist has faced the frustrating moment when a paint tube cap refuses to budge. When you need that perfect color immediately, a stuck cap can be infuriating. However, with the right techniques, you can open that stubborn paint bottle in no time and prevent future mishaps. Let’s explore effective methods to prevent and fix stuck paint caps!
How to Open a Stuck Paint Cap
1. Soak the Paint Tube or Jar in Warm Water
One of the simplest and most effective ways to open a stuck paint cap is by soaking it in warm/hot water for one minute. Follow these steps:
- First, fill a cup or bucket with warm to hot water.
- Next, submerge the lid in the water for about a minute, ensuring it’s fully covered. You might need to hold it down.
- For particularly stubborn caps, soak for a few extra minutes.
Comparatively, this method works wonders and should be your first approach when dealing with stuck paint caps.
2. Use a Jar Opener
A jar opener can be a lifesaver when dealing with stuck paint caps. If you don’t have a jar opener like this, I highly recommend it!
These handy tools can open lids from small 4-ounce tubes to large 16-ounce containers. Here’s how to use one effectively:
- Initially, if the cap is still stuck, consider soaking it in warm water first.
- Then, place the jar opener around the lid and twist it to open.
Jar openers save your wrists from strain and make opening stubborn lids much easier. I keep one of these in the studio. Additionally, I love that it’s actually made for the kitchen, so I can use it there when I’m in a pinch with a salsa jar!
3. Try a Wrench
If you don’t have a jar opener, a wrench can be a suitable alternative. However, keep in mind that if the cap is really stuck, you might create a break in the tube (I have done that with my oil paints before). With caution:
- First, grip the cap with the wrench and twist gently.
- If the cap is extremely stuck, you might accidentally break the tube. In such cases, consider cutting off the bottom of the tube and storing the paint in a well-sealed plastic bag.
Using a wrench is a last-resort method although it can be effective in a pinch.
4. Rubber Gloves or Silicone Gripper Pad
Rubber gloves or a silicone gripper pad can provide the extra friction needed to open a stuck cap. Here’s how to use them:
- First, soak the lid in warm water to soften any dried paint.
- Then, use the gloves or gripper pad to twist the cap open.
While not as effective as a jar opener, these kitchen tools can still save the day.
5. Vinegar or Acetone
For oil paint, vinegar or acetone can dissolve dried paint around the cap:
- First, soak a cotton ball in vinegar or acetone.
- Apply it around the cap and let it sit for a few minutes to dissolve any dried paint.
- Finally, attempt to unscrew the cap.
For acrylic paint, stick to warm water and skip this method, as acetone can damage the paint.
How to Prevent Paint Caps from Sticking

After sweating and struggling through several attempts with stuck paint lids, prevention becomes key. Follow these tips to keep your paint caps in pristine condition:
1. Wipe Paint Tubes Well
Cleaning the threads around the cap is crucial. Be sure to wipe the oil or acrylic paint lid threads well around the sides before replacing the cap or lid. For acrylics, use a wet rag. For oils, use a paper towel or cloth dipped in turpentine. This simple step prevents dried paint buildup.
2. Use Petroleum Jelly or Linseed Oil
To make future cap removal easier, apply a small amount of lubricant:
- For acrylics, use petroleum jelly on the sides to ensure that opening your tubes of paint in the future is super easy
- For oil paints, use linseed oil on the lid threads after cleaning
Apply the lubricant to the lid threads after cleaning. Remember to repeat this process after each painting session.
3. Tighten Gently
While it’s important to seal your paint tubes properly, avoid over-tightening. Tighten the cap just enough to seal the tube or jar without making it difficult to open later.
Key Takeaways
A stuck paint cap doesn’t mean your paint is destined for the trash. By soaking the lid, using a jar opener or wrench, you can usually resolve the issue quickly. If you want to spend more time painting as opposed to opening lids, be sure to follow my prevention tips to keep your paint tube caps in optimal condition.
If you have other methods for fixing a stuck paint cap or preventing this issue, please share your tips in the comments below! Happy painting!
ABOUT ANDREA CERMANSKI
I am an artist out of Santa Fe, New Mexico who has been painting for almost 30 years. I love to teach first-timers as well as experienced painters who need a creative reboot. My work has been displayed in several galleries around the country, and I have a Bachelor’s in Art History, a Master’s in Art Education, and had my work in a show juried by Judy Chicago. The idea of getting more people painting makes me light up as I want to inspire more people to express their creative selves and tap into a place of joy and calm.
WANT TO LEARN MORE?
- Subscribe and get one of the FREEBIES below!
- PDF explaining How to Use My 5 Favorite Mediums
- Ebook on How to Move From Representational Painting to Abstraction: 5 Transformative Art Lessons
- 8 Colors Every Artist Should Have: My list of BEST colors to buy and pro mixing tips
- Check out My Online Abstract Painting Course
- Read More Painting Tips Blog Posts
- Check out My Paintings & Art Prints for Sale
- Follow Me On YouTube, Instagram, or Pinterest
